|
Most people around me had to try more than once. |
|
Evidence. So I felt slightly jipped out of a more rich troubleshooting experience. And then remembered my friend the Vinyl Cutter. |

Vinyl Cutter
|
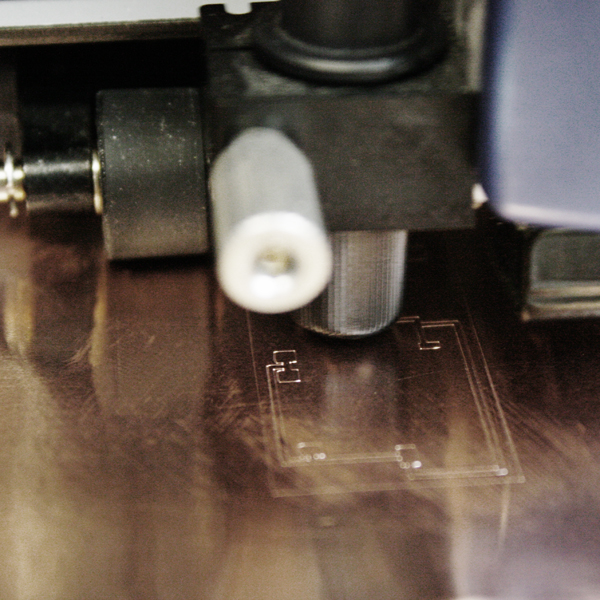
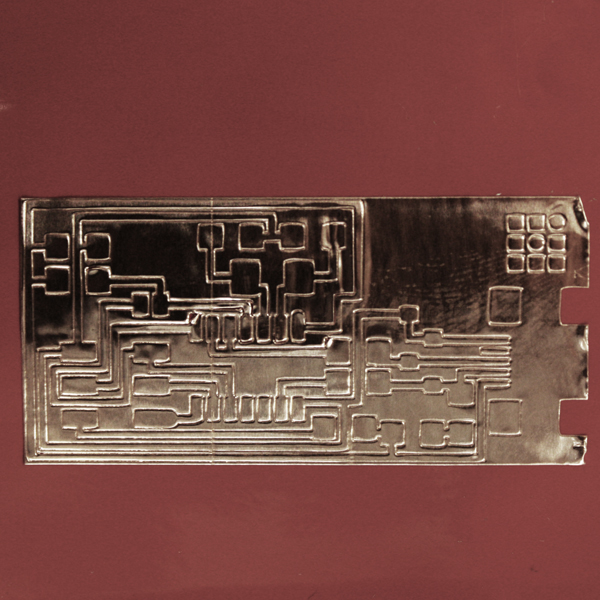
It took me a while to figure out the settings to cut out the traces from the copper. I used the provided .png file for the FAB ISP and started testing. |
|
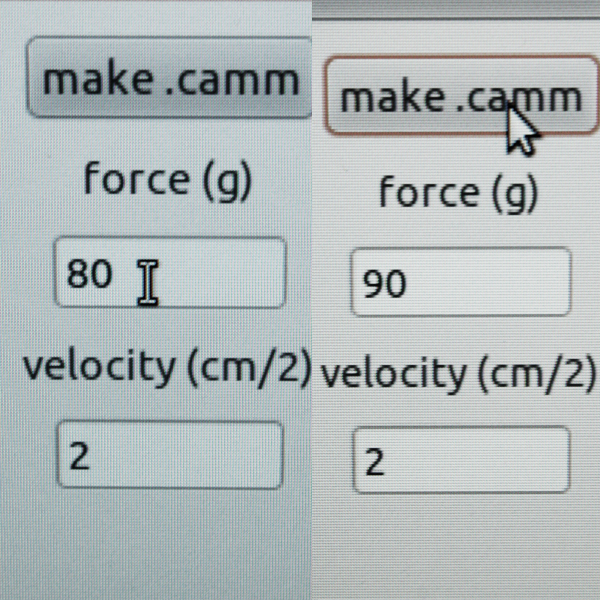
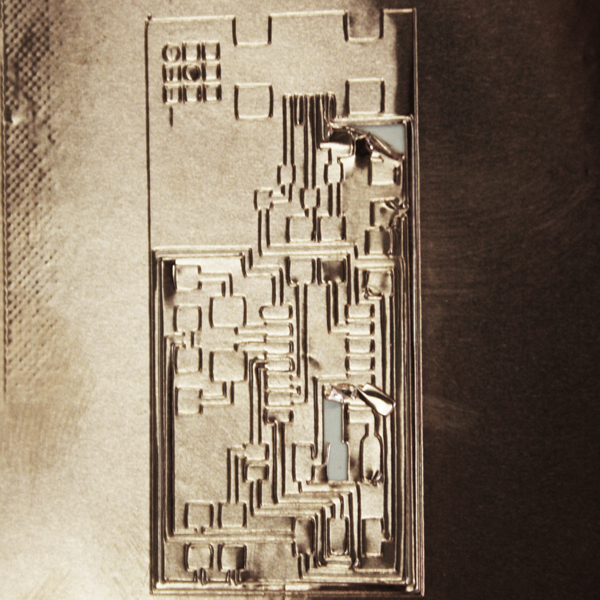
My first try was with 2 cm/s speed and a force setting of 80. |
|
There was some gouging up near the location of the zero ohm Resister solder jump. But I decided to try and use it to test the process of removing the copper from the sheet. |
|
The first try was quite fruitless. |
|
I thought at first the knife had not cut through at all, but found that it had. First casualty. |
|
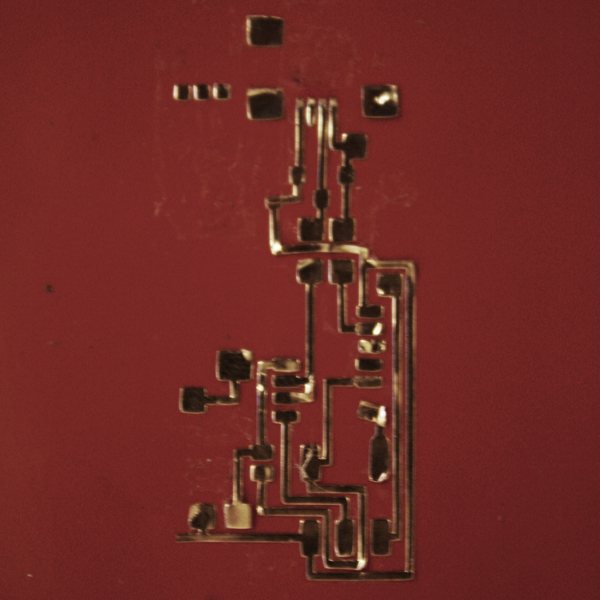
My first reaction was that the traces needed to be cut loose more effectively, so I bumped the power up to try and establish and appropriate upper bound for experimentation. |
|
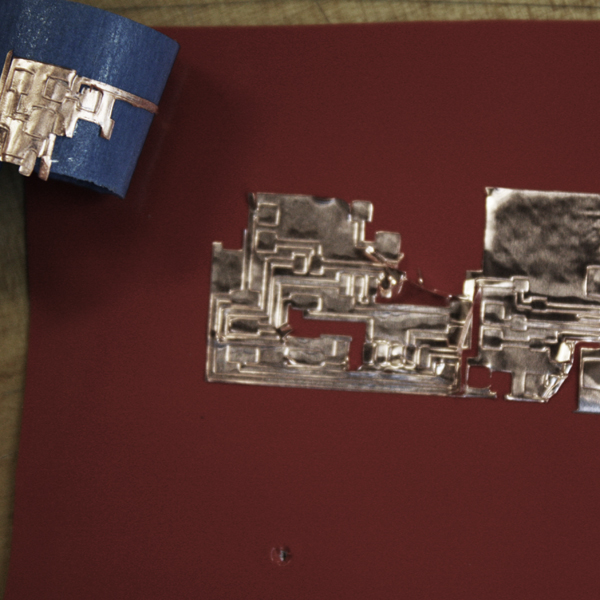
A Power setting of 90 was slightly extreme. |
|
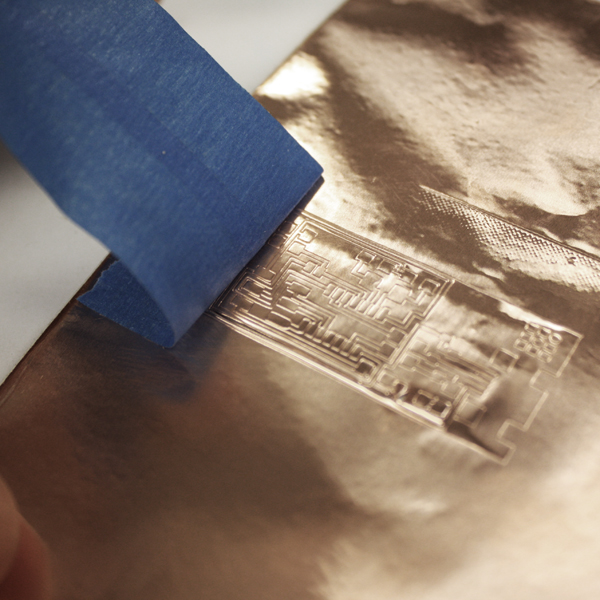
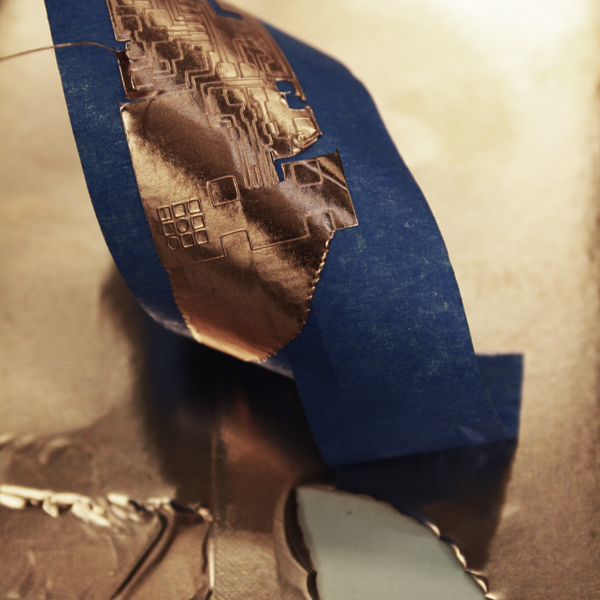
However, it did allow me to have some practice at removing the copper using painters tape. it was a little sloppy in part from the gouging that happened, but it was useful to go through the transfer process. |
|
Not a clean pass. Second Casualty. |
|
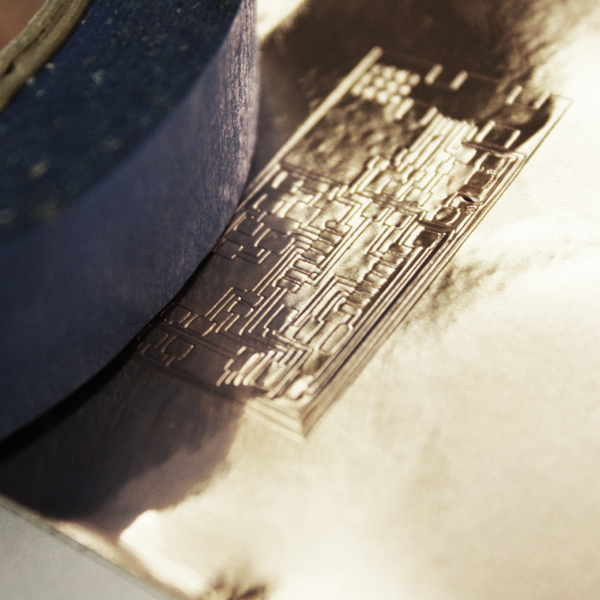
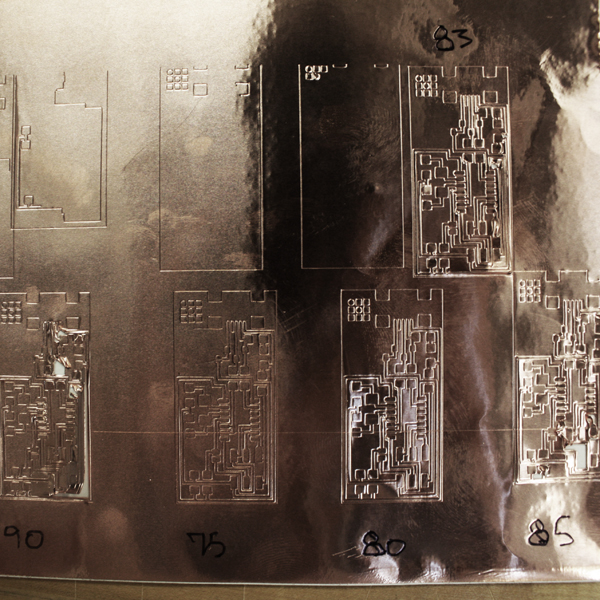
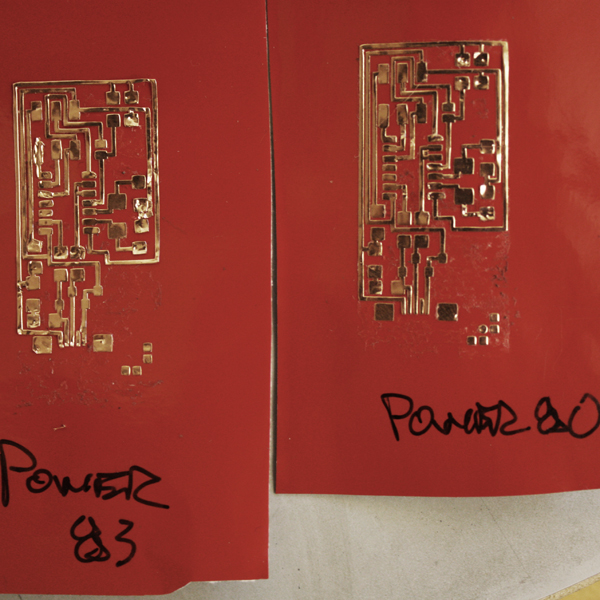
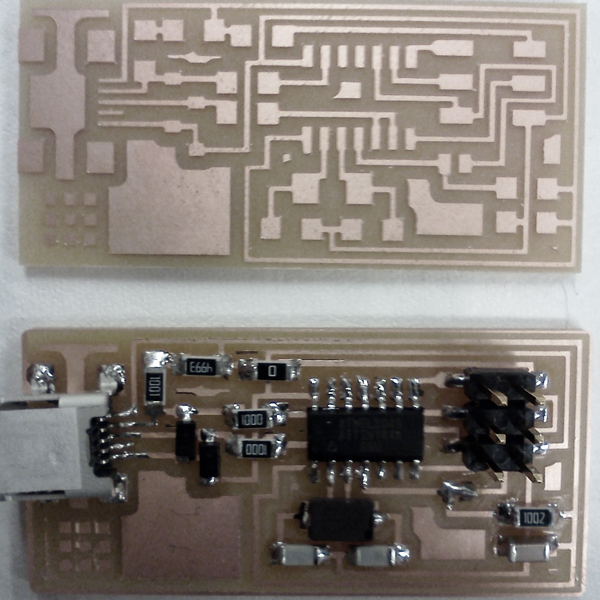
So I did a bunch of tests for power settings trying to get a board with minimal gouging. I swung back and forth between 75 and 90 and finally zeroed in on 83 as a good one. Although we did have some gouges there too. In the end, I also remembered to check the blade, which was protruding a lil to far, so after adjusting that and the power settings, the traces cut out with the power setting of 80 and 83 were useable. |
|
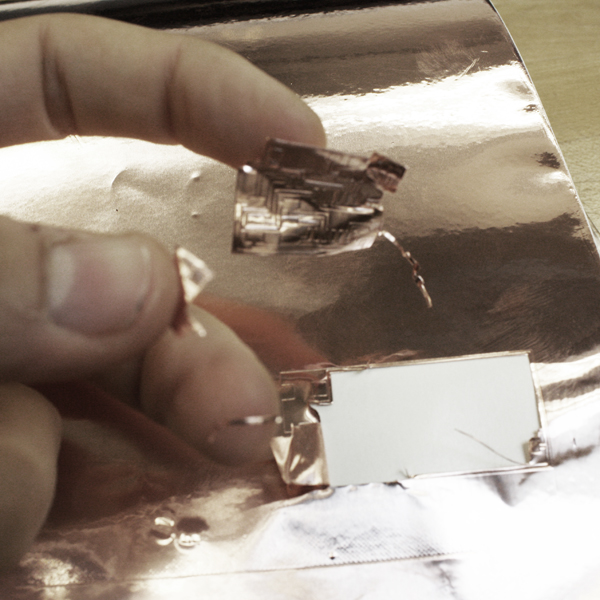
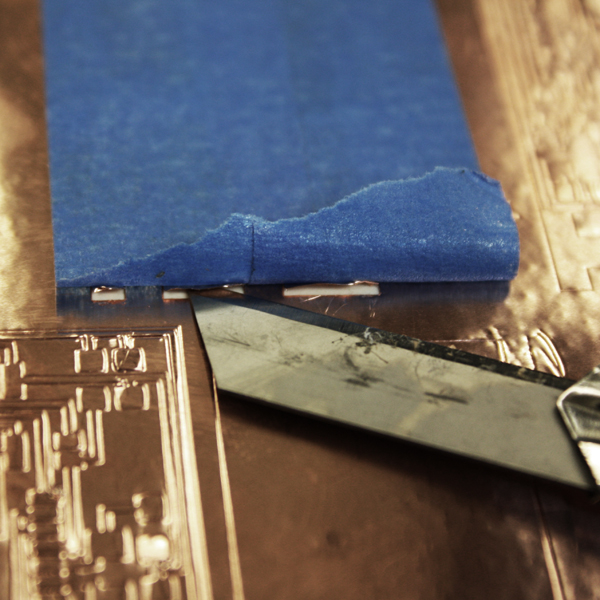
I also discovered an effective way to help the initial transfer process along. I used the knife to pry loose the beginning. |
|
First transfer sans casualty. |
|
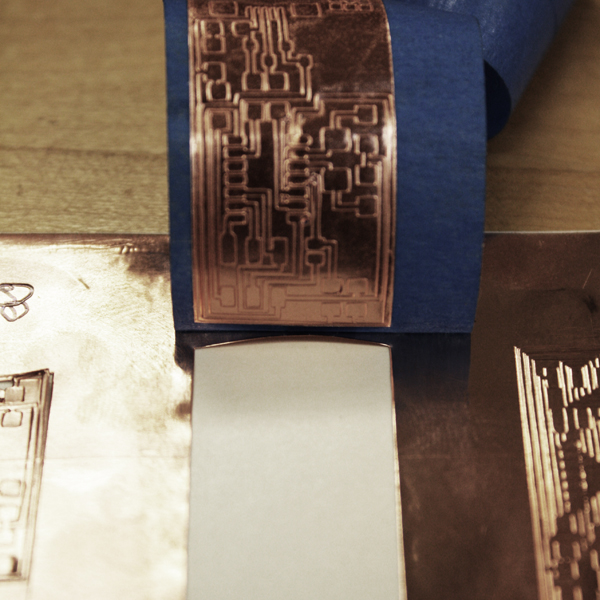
At a loss for a substrate to transfer the copper to, I eventually just stuck it to a piece of vinyl left over from last week's assignment. |
|
Practice weeding on the first casualty. |
|
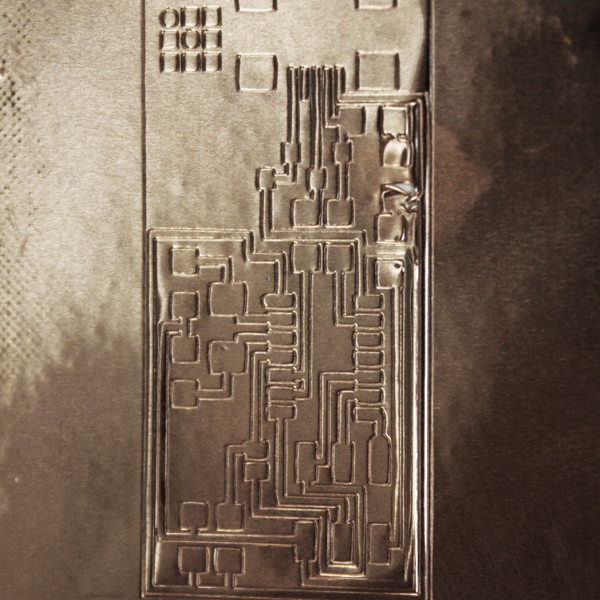
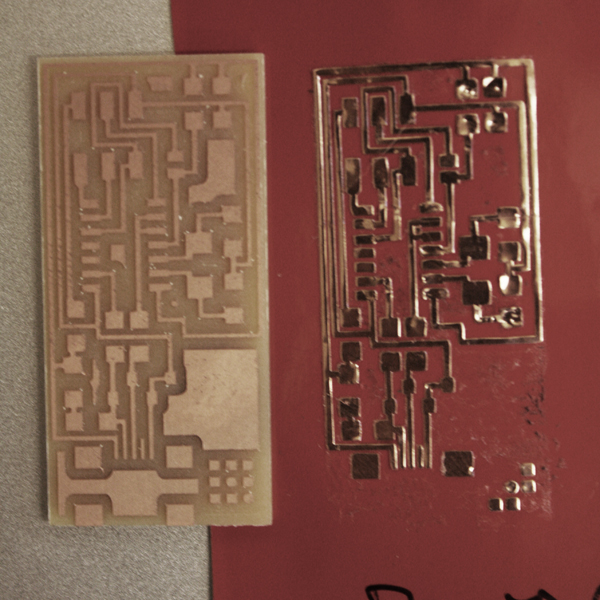
Finally weeded the traces cut out on the power 80 setting without tearing anything necessary off the vinyl. I would NOT reccommend using the vinyl. The copper did not really stick to it nicely. |
|
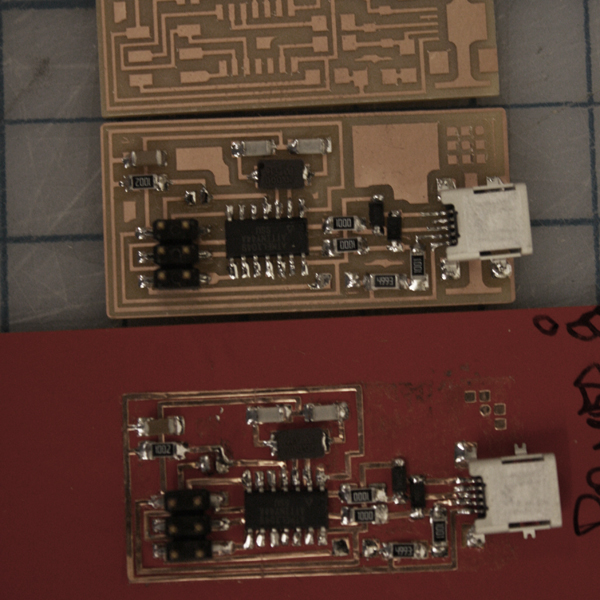
Power 80 wins. |
|
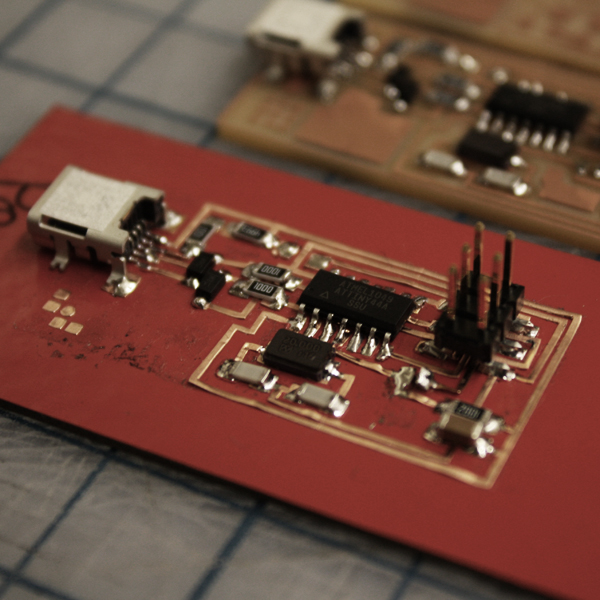
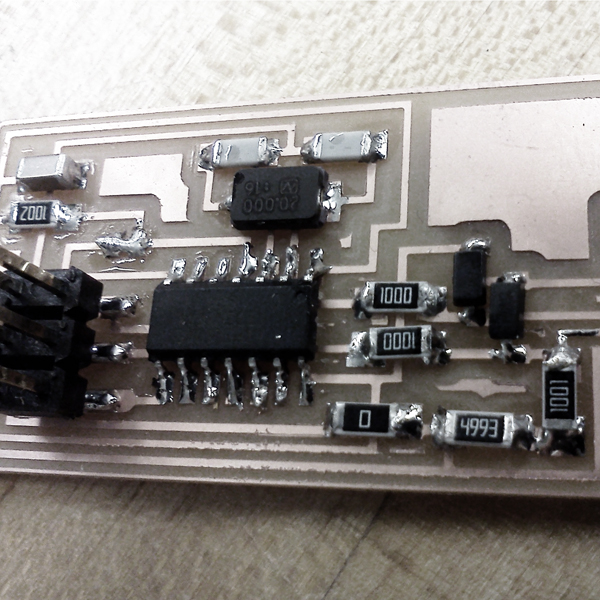
So, then I thought: Well, I'm probably going to screw this up by trying to solder it, but let's have a go. and it turned out to be not that hard even though there was significatnly less space between traces. I had to use the copper braid to remove solder once on the USB connector and even used the knife to cut apart some traces that I soldered together, but after I tried that I thought: Well, I doubt its programmable. But it was, and I managed to program it first try again. |
|
Shoot, Son! |